Image Map
Showing posts with label DIY. Show all posts

Wednesday, July 6, 2016

DIY Chalk Paint Project

When the need arises, making my own chalk paint became a priority. Recently the kitchen update began with hiring out painting the oak cabinets to white. The contractor used SW paint in West Highland--a creamy white. I blogged about that project here.

I decided to change the color of the side board from Annie Sloan graphite to the same creamy white.


The dark cabinet did make the white pottery and dishes pop. However, I am on a white and light kick!

The first purchase I made was Annie Sloan pure white--I was sure that it would do much better than Old World White that I had used. 


It was quickly apparent that Pure White is pure white. No cream involved! 

I already had a quart of Behr paint mixed in SW West Highland. Several months ago I had purchased Calcium Carbonate (powder form) from Amazon. I was too scared to try it out! Sure, I had read it was much cheaper to make chalk paint. With the realization that I had the materials to possibly attempt the correct match I googled and watched several YouTube videos. It looked easy. And it was. I quickly made enough to put on a first coat of West Highland chalk paint.
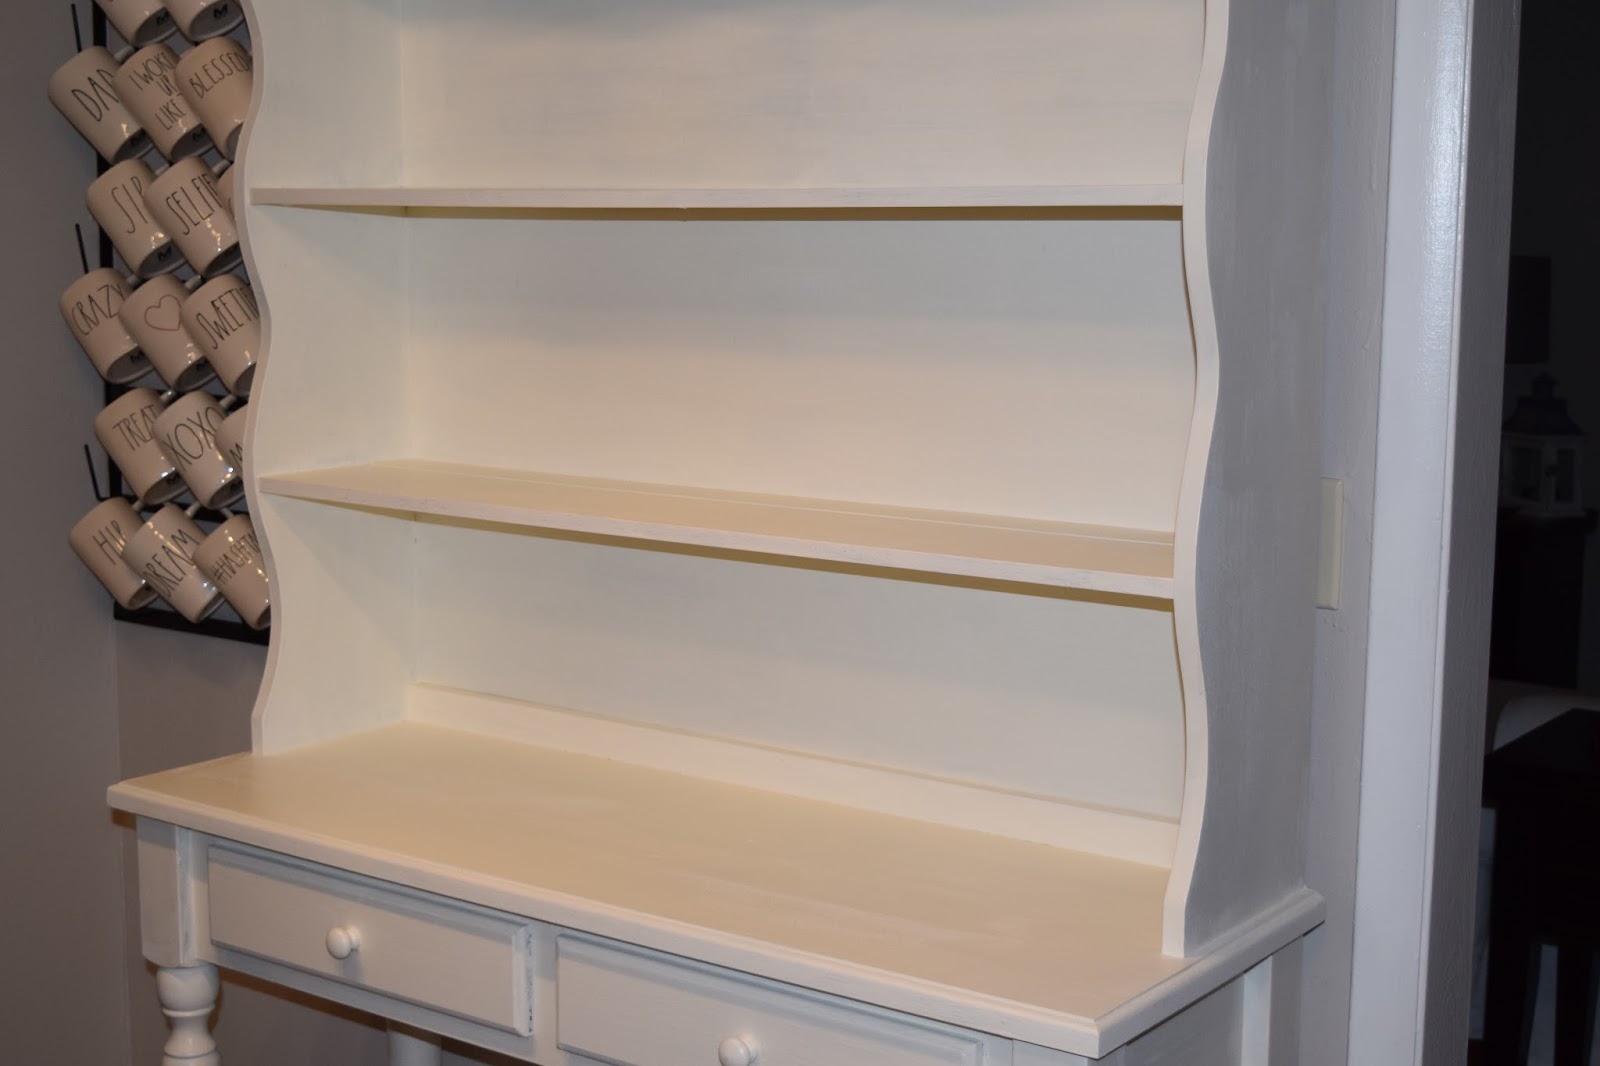


I did need to purchase another quart of Behr flat paint because I had used most of the quart before this latest project. It was $14. Yes, $14 for a quart. And I mixed two cups of paint with a couple of tablespoons of the calcium carbonate with WARM water. I think I was apprehensive because I envisioned lumps. There were none. I mixed the water and calcium carbonates and stirred with a paint stick. I poured it in the two cups of paint and stirred again. Probably a minute of work!

The only difference I did use is that I topcoated with General Finishes satin top coat rather than waxing. I figured if this was a project gone bad or worse--it would be easier to try something else if I didn't apply wax.


I can't say enough about mixing chalk paint with the desired color you wish and hope for!


post signature

Tuesday, February 17, 2015

Bye-Bye Honey Pine


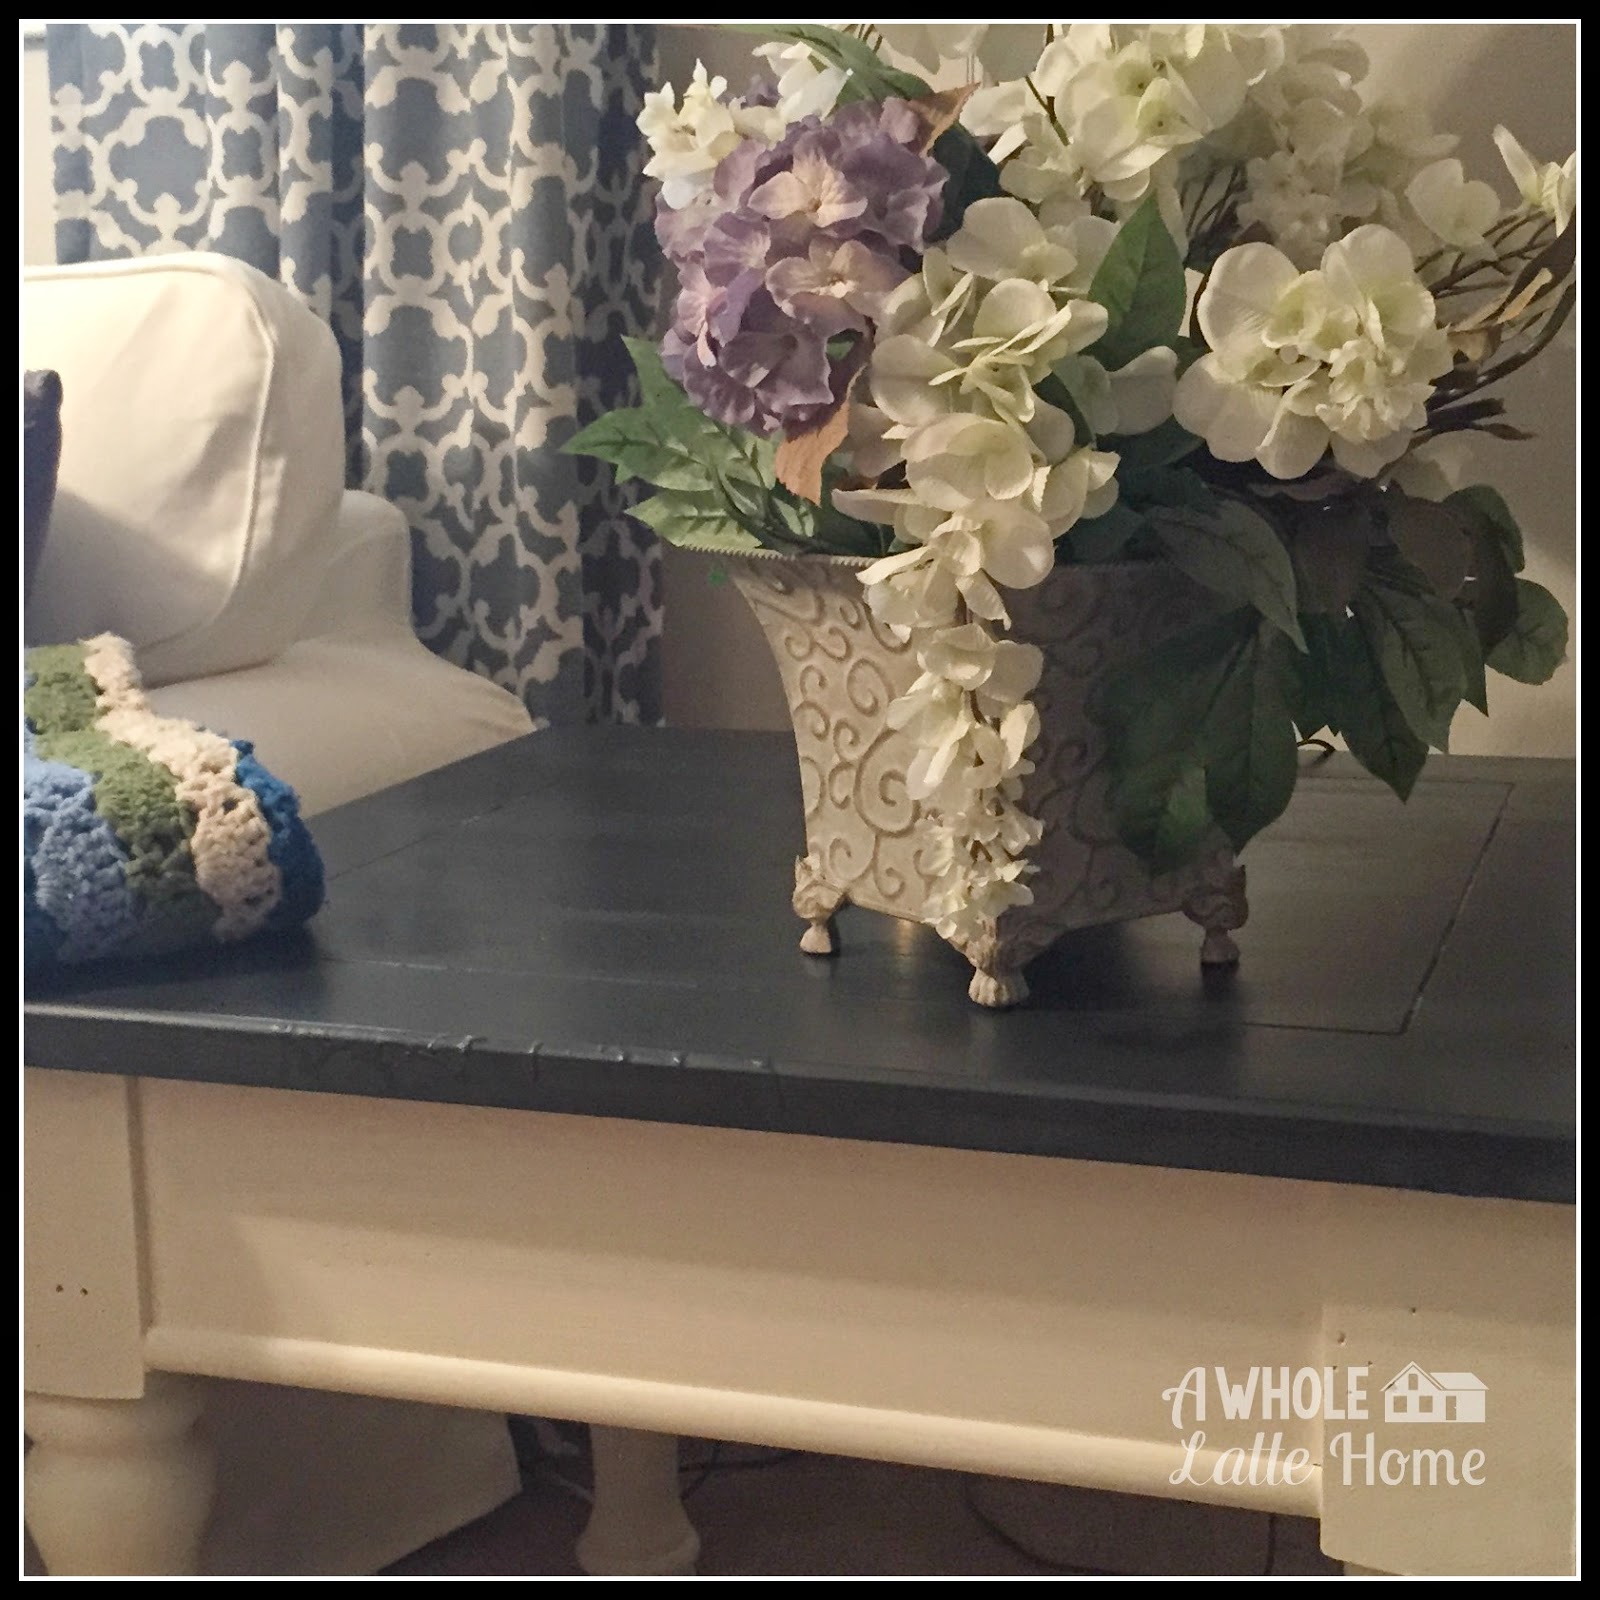
My love for Broyhill Fontana has been long. I mean we have traveled all over the areas surrounding our state to find bits and pieces. A table here, another elsewhere. We have accumulated quite a bit. But when I purchased the Ikea Ektorp sofa with the white slipcover the honey pine just seemed dated. I decided after browsing Pinterest, various blogs, and more blogs that I wanted to go with staining the tops of the tables in my downstairs family room with a chestnut stain and use Annie Sloan Old World White on the rest.

After cleaning each table and lightly sanding the tops I attempted to apply the stain. It wasn't absorbed in the wood at all. I tried to sand again and reapply--again the stain bubbled up. I don't know if this is a problem because of the finish that Broyhill applied or what the previous owners had used but I was forced to move to plan B (that I hadn't even thought or planned for!). I had some Annie Sloan graphite so decided to use that on the tops.


If you notice since we found these in different places, the finish on these three are actually different. So maybe using chalk paint provided the best solution.


After the first coat, I quickly realized this wasn't going to be a quick project. I had envisioned that I might be able to do most of the various coats in one day. Scratch that idea. I first worked on the two end tables and the coffee table--saving the sofa table for another day. For these I only did the tops--letting each coat dry a couple of hours. Later that day I began working on the sides and legs with the white. Amazingly, the white only took two coats. Turned legs are a pain to cover evenly. I finally turned the tables on the side and was able to reach the legs much better.

My wrist was regretting this project! It still hurts several days later.


 Excuse the armoire--it belongs to my son. I am storing it for him but hope he will take it soon!


All in all, I think it is an improvement. I am disappointed that the stain didn't work out on the tops. If I was to backtrack and start over I would use General Finishes gel stain on the tops. I think it would have been the right choice.

I am still needing to decorate and add the farmhouse touches I envision. But...I am snowbound at the present time!


post signature

Sunday, February 1, 2015

Just call me Goldilocks

You know the story--Goldilocks was a perfectionist. Striving for just the right of everything.

That's what I felt like with this simple, simple project.

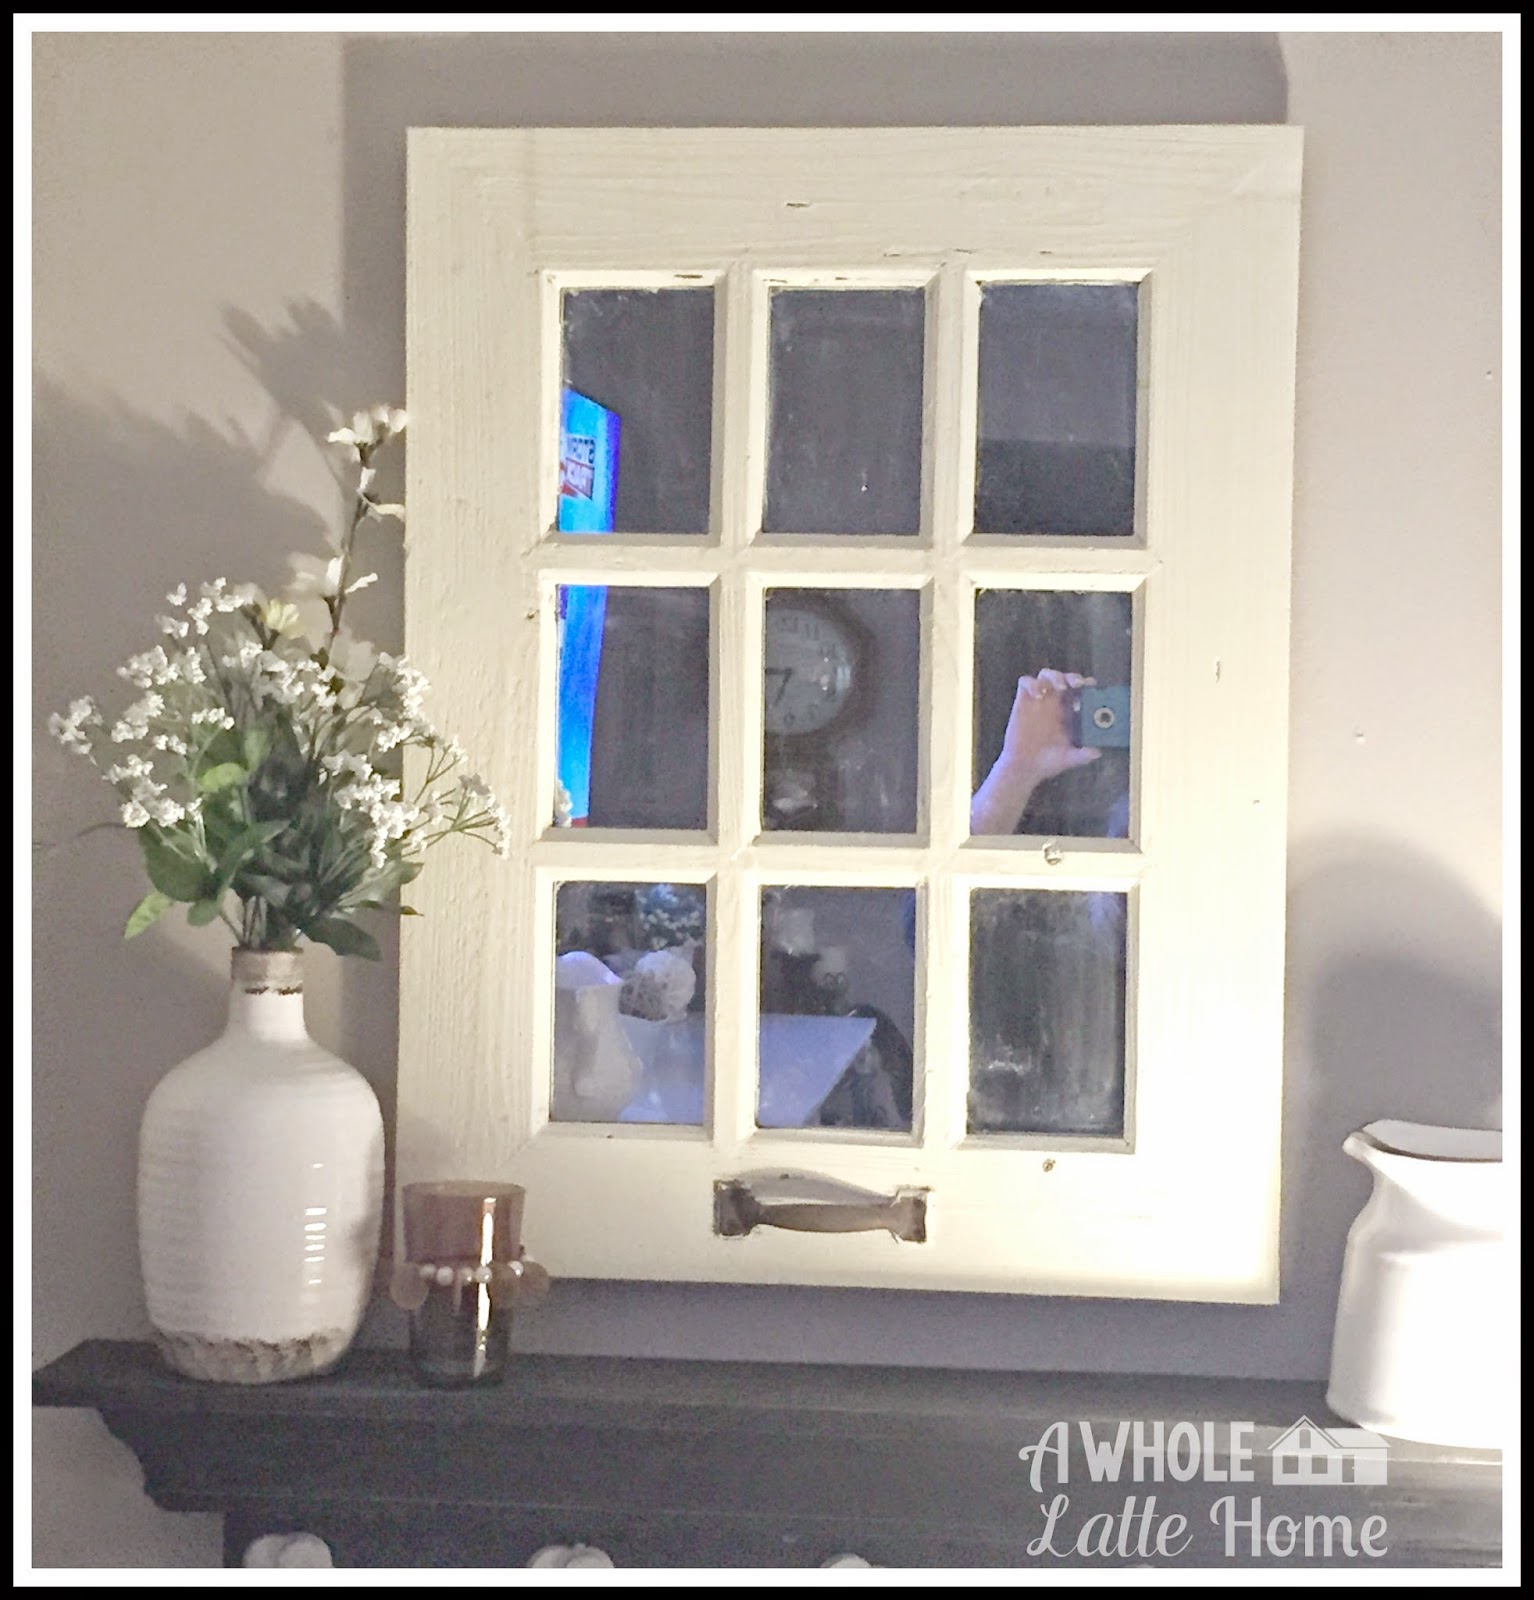
Step 1: find a window type frame. Hobby Lobby to the rescue on that one.


It was the 50% off on mirrors and wood products so the price was "just right" for my mind and pocketbook. However, I really wanted a white aged appearance. That could be easily done because I had a small jar of Annie Sloan chalk paint.


I thought a little "dry brush" technique would be the right touch. Well...just Goldilocks (me) thought it looked too "farm aged" for my living room. 

Surely a second coat would solve that issue. Take the mirror down. Tape it off...again.


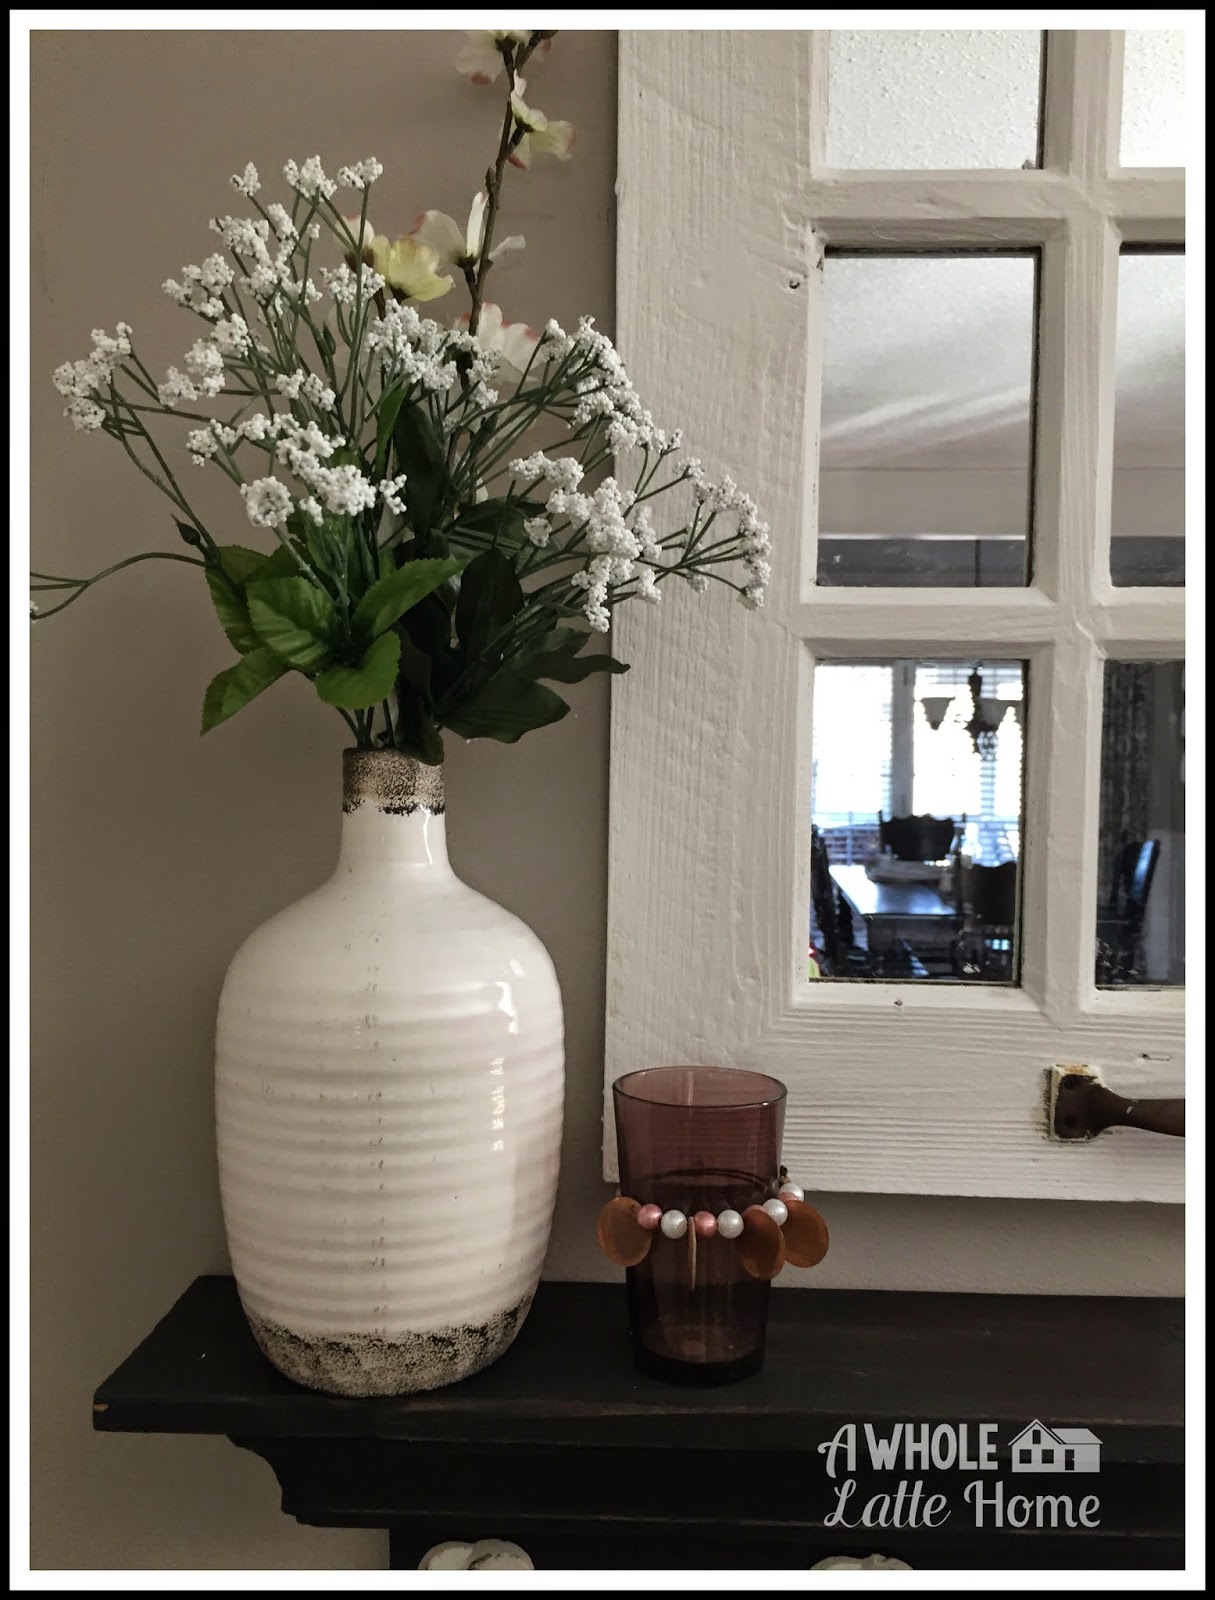
This time the finish suited me--just not the color. It appeared too yellow to use with the white ironware pitchers and vases. GRRRR.

Back to Hobby Lobby. I didn't want to get another jar of Annie Sloan because of the $$$. I wandered through the paint section and found a chalk paint there. I am sure it isn't the quality of Annie Sloan but this is just a frame. It isn't a piece of furniture or I would have bought AS. I used the 40% off coupon and it came to around $4. 


This is the third time I have taped the frame.

Third time I have painted it.

Three Bears. Three paint tries.


I found the shelf at HomeGoods/TJMaxx and the white matches the shade of the flowery hooks. I am not through styling the shelf. But at least...I think it is "just right".

Do you ever feel like a character in a book? Just saying...I am a teacher!


post signature

Wednesday, January 14, 2015

A Slight Change with ChalkPaint

I am new at the chalk paint trend. But I am finding it is wonderful! Lose the prime, paint, paint, protect, etc.

I wanted some decor items beside the china hutch in the dining room. Definitely not the candle sconces I have used in the past. So...a trip to Hobby Lobby in search for the perfect pair. I walked. I searched. I meandered. Nothing seemed right. It was the wrong color or the wrong size (or maybe the wrong price for my "slight change".

I finally found what I thought would work but the aged green did NOT suit me. I was looking for dark.


The center was just about perfect. I laid our my tarp and picked up the Annie Sloan Chalk Paint in Graphite that I had used for my kitchen project.


I did use two coats to cover the places I missed on the first coat. (I am an impatient painter).

The before of the dining area:


And the after:


The shadows it creates on the wall behind makes it look distorted!

Mr. Spouse just noticed them last night. HUMMM--they have been up for a couple of months. I guess that means that they don't look absolutely terrible!


post signature

Wednesday, October 15, 2014

Annie Sloan Graphite Try

I know. Chalk paint isn't new. It has been raved about. I have pinterested it. And googled it. Read directions. Watched youtube videos.

I think I can. I want to try. Take a few deep breaths.

First thing is to decide on a color. Since the piece I am doing is in the kitchen it needs to blend in with the cabinets and granite counter tops.

I decided on graphite--- a dark gray as in pencil lead. I read and decided this after reaching this as my inspiration.


I wanted a dark contrast in the cabinet with my white stoneware. I purchased this cabinet from JCPenney several years ago. It was on closeout and was about $50. The odd part was that the top two shelves had a back and the bottom shelf didn't.

 I purchased the thinest panel Lowe's had and let them cut it to size.
 I attached it to the back before I began painting.
 As you can tell, it was really odd looking with that open space.
I found out that I need to learn a bit more about chalk painting. But I love the fact that it is a doable project in one day. With other finishes the drying time between coats seems to take forever. And I.do.not.like the mess during projects. (Neither does my dog--he pouted all day!) I put the first coat on and let it dry for about a hour while I took a break. I put the second coat on. About a hour later I put the first coat of clear wax. I buffed it and applied a second coat of wax a few hours later. By the end of the day I buffed it again and placed everything back!


I will definitely use chalk paint again. A couple of things I would do next time is use a really good brush and realize that I should thin the paint with a little water if I want an overall finish with little distressing.


post signature